.jpg)
Each January I make a list of recipes or techniques I'd like to master and a great source of information is Nielsen Massey's Better Your Bake series. I've used their tips previously in some of our favorite dishes, Honey Vanilla Pancakes (Tip #1: How to separate eggs & whisk), Brown Butter Chocolate Snickerdoodles (Tip #2: How to brown butter), and Mini Chocolate Eclairs with Vanilla Pastry Cream (Tip #4: How to fill a pastry bag).

Disclaimer: I received product from Nielsen-Massey to use in creation of this post. This
post contains Amazon Affiliate links. I earn a small commission at no
cost to you with the purchase of the product. All opinions are my own.
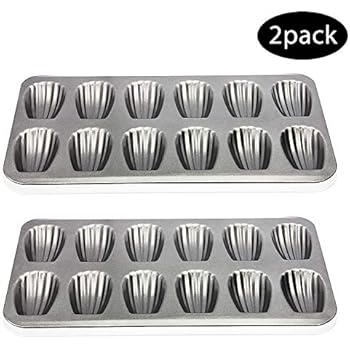
One of the items on this year's list is madeleines. I've seen them on several cooking competition shows and they have always intrigued me. There is nothing worse than following all the steps of a recipe and then when you go to turn the item out of the pan, nothing happens. Proper pan preparation is key, especially with madeleines.

I chose the Lemony Madeleines from the Nielsen Massey website and also Tip #5: How to prep and use a baking mold. I adjusted the baking temperature down a bit since I was using a darker coated pan. Mine baked in about 9 minutes and released from the pan beautifully.

After they've cooled you can dip them in melted chocolate and add sprinkles, or you can give them s simple dusting of powdered sugar. I cannot wait to experiment with more flavors, I'm thinking some with orange extract dipped in melted dark chocolate would be absolutely amazing!
Here are some other recipes using Nielsen Massey you may also enjoy:
Hydrangea Cupcakes
Chocolate Peppermint Pizzelle Fauxnoli
Gram's Lemon Cupcakes
Mocha Filled Thumbprint Cookies
Lemony Madeleines

Ingredients
- 1/4 cup butter, melted and cooled to room temperature, plus 3T melted butter to coat pans
- 2 eggs
- 1 teaspoon Nielsen-Massey Pure Lemon Extract
- 1 teaspoon Nielsen-Massey Madagascar Bourbon Pure Vanilla Extract
- 1/8 teaspoon salt
- 1/2 cup white sugar
- 1/2 cup all-purpose flour
- 1/4c powdered sugar, optional
Instructions
- Preheat oven to 375 degrees F. Coat the madeleine molds with melted butter or non-stick baking spray; set aside. Sift flour onto parchment paper; set aside.
- Beat eggs, lemon extract, vanilla and salt at high speed in an electric mixer fitted with the whisk attachment, until light.
- Add the sugar in a steady stream, beating constantly; continue beating at high speed until mixture is thick and pale, and ribbons form in bowl when beaters are lifted, about 5 minutes.
- Fold flour into egg mixture in 3 additions. Fold the melted butter quickly but gently into the batter. Let batter sit for 5 minutes before dividing evenly among indentations in the madeleine pans, filling to about 3/4 full.
- Bake 8 to 10 minutes, or until cakes are golden and the tops spring back when gently pressed with your fingertip.
- Invert the pan onto a wire rack and let the madeleines cool completely. Dust with powdered sugar. Madeleines are best on the day they're baked.
Notes


Lemon desserts are always a favorite of mine - I love the brightness it adds!
ReplyDelete