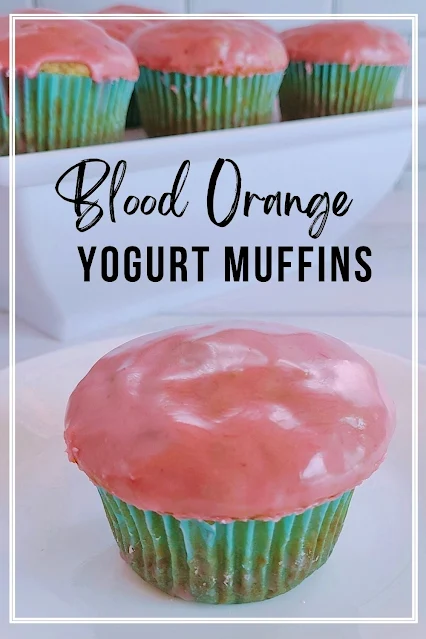
Obviously, I used blood orange in place of regular oranges. The color of the zest and the juice is so vibrant and cheerful. I also used Greek yogurt in place of regular and whole milk instead of 2% because those are the things I keep on hand.
These are terrible shots because my stove lighting is not photo friendly but these muffins come together a bit differently than normal recipes. You combine the sugar, zest and liquid in a pan and stir until it's dissolved and then you add in the butter. I ended up using blood orange juice instead of the water the recipe called for.
After it cools slightly you combine it with the rest of the wet ingredients, which you then mix into the dry until just combined. Do NOT over mix!
I used a large cookie scoop and got 12 generously sized muffins and because I didn't want to wait for the tin to cool to make more, 7 mini donuts. (I know there are only 4 in the picture, mind your business, it's called quality control.)
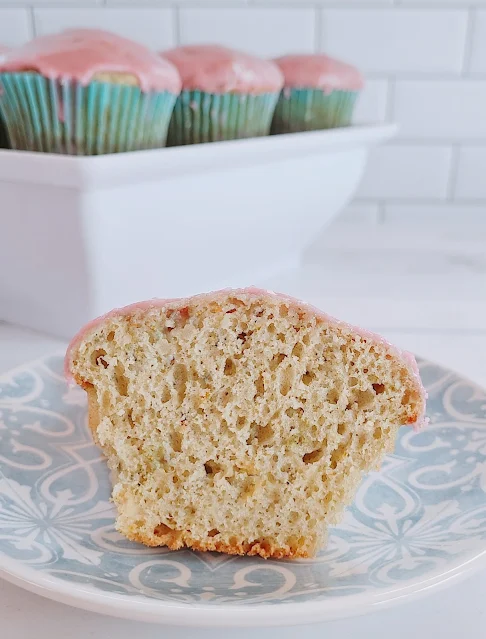
I really loved the texture of these. Almost too light and airy to support the muffin top and the glaze. I did have some sticking to the paper liners, probably because I used the juice instead of water. Next time I'll spray the liners or I'll just bake them straight in the sprayed tins.
Thanks so much to Stacy for hosting #MuffinMonday and to all the other awesome bloggers who shared recipes today, be sure to go check out what they made using the links down below!
Blood Orange Yogurt Muffins

Ingredients
- 1/2 cup sugar, divided
- 2 tablespoons grated blood orange zest
- 2 tablespoons blood orange juice (or water)
- 5 tablespoons butter, cubed
- 2 cups all-purpose flour
- 1 teaspoon baking powder
- 1 teaspoon baking soda
- 1/2 teaspoon salt
- 2 large eggs
- 3/4 cup plain Greek yogurt
- 3/4 cup milk
- 1 cup confectioners' sugar
- 2 to 3 tablespoons blood orange juice
Instructions
- In a small saucepan, combine 1/4 cup sugar, orange zest and orange juice. Cook and stir over low heat for 3-5 minutes or until sugar is dissolved. Add butter; stir until melted. Remove from the heat; set aside.
- In a large bowl, combine the flour, baking powder, baking soda, salt and remaining sugar. In another bowl, whisk the eggs, yogurt, milk and reserved butter mixture. Stir into dry ingredients just until moistened.
- Coat muffin cups with cooking spray; use a cookie scoop and fill about 3/4 full. Bake at 375° for 15-18 minutes or until a toothpick comes out clean.
- Combine glaze ingredients; spoon about 1-1/2 teaspoons over each warm muffin. Remove from pans to wire racks
#MuffinMonday is a group of muffin loving bakers who get together once a month to bake muffins. You can see all of our lovely muffins by following our Pinterest board. Updated links for all of our past events and more information about Muffin Monday, can be found on our home page.
- Blood Orange Yogurt Muffins from Jolene's Recipe Journal
- Cardamom and Orange Sourdough Muffins from A Messy Kitchen
- Cheddar Cheese Muffins from Palatable Pastime
- Cheesy Spelt Mini Muffins from Food Lust People Love
- Irish Soda Bread Muffins from A Day in the Life on the Farm
- Sourdough Hot Cross Muffins from Zesty South Indian Kitchen
- Sourdough Multi-grain Grape Muffins from Karen's Kitchen Stories


I'm sure they were delicious. I seldom use papers, treating the pan with baking spray works perfectly.
ReplyDeleteSubbing in juice for water is always a good decision flavor-wise. Despite the mess, I think your muffins turned out lovely, Jolene!
ReplyDeleteQuality control is very important, lol! These muffins are gorgeous and I love the airy crumb.
ReplyDeleteThey look amazing, love the beautiful and natural color the juice gives the glaze! Quality control is cook's prerogative and not to be questioned!
ReplyDeleteDarn you google. I am not anonymous.
ReplyDelete