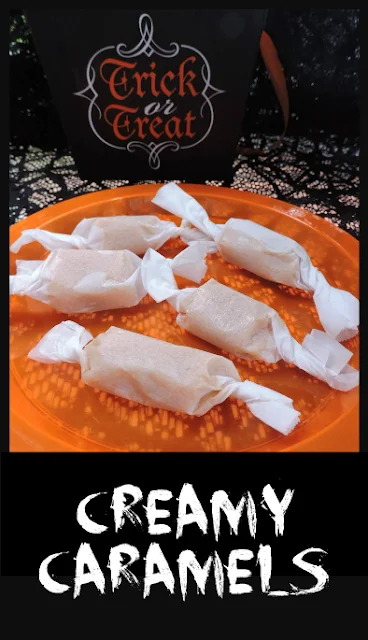
My husband has been asking me to make caramels for quite a long time. I'll admit, I was intimidated by the candy-making process, and kept putting them off. I looked at recipe after recipe, finally settling on these Creamy Caramels from Taste of Home.
I made a mistake right off the top, which was to buy light corn syrup instead of dark. I was assured that the color may be off, but they'll still be delicious. I used a brand new candy thermometer, but since it was my first try, I also used the water test.
The guys taste-tested while I started wrapping. They told me to not waste my time wrapping, they were going to eat them right out of the pan. After the intial frenzy, I took some of the caramel and spread it on shortbread cookies, sandwiched it between pretzels, and then coated them with melted chocolate. Both were big hits.
Thank you so much to Marcie W. for sharing her recipe! For even more awesome #Halloween recipes, check out what the rest of the #FestiveFoodies are sharing today by using the links below.
Creamy Caramels

Ingredients
- 1 teaspoon plus 1 cup butter, divided
- 1 cup sugar
- 1 cup dark corn syrup
- 1 can sweetened condensed milk (14 ounces)
- 1 teaspoon vanilla extract
Instructions
- Line an 8-in. square pan with foil; grease the foil with 1 teaspoon butter and set aside.
- In a large heavy saucepan, combine sugar, corn syrup and remaining butter; bring to a boil over medium heat, stirring constantly. Boil slowly for 4 minutes without stirring.
- Remove from the heat; stir in milk. Reduce heat to medium-low and cook until a candy thermometer reads 238° (soft-ball stage), stirring constantly. Remove from the heat; stir in vanilla.
- Pour into prepared pan (do not scrape saucepan). Cool. Using foil, lift candy out of pan. Discard foil; cut candy into 1-in. squares. Wrap individually in waxed paper; twist ends.
Notes
- All Eyes on You Pumpkin Peanut Cake Balls by Our Good Life
- Candy Calzones by Palatable Pastime
- Creamy Caramels by Jolene’s Recipe Journal
- Eyeball Buckeyes by Big Bear’s Wife
- Ghosts in the Graveyard Trifle by Cooking with Carlee
- Ghoul Fudge by Cindy’s Recipes and Writings
- Halloween Layer Cake by Hezzi-D’s Books and Cooks
- Mini Mummy Dogs by A Kitchen Hoor’s Adventures
- Mini Mummy Meatloaves by A Day in the Life on the Farm
- Pickled Brains by Culinary Adventures with Camilla
- Shrunken Head Punch by Kate’s Recipe Box


I'm intimidated by caramels too but these look so good! Great job! Plus you can use them for many other things.
ReplyDeleteThey really weren't that hard! I'm looking for more things to add to my candy making to-do list now!
DeleteThese look delicious! I have tried making caramels a couple of times with good but not great results. I'll have give these a try!
ReplyDeleteHope you enjoy them as much as we did!
DeleteWow....very impressed. The recipe sounds like a winner. Thanks for sharing.
ReplyDeleteThank you, it was awesome to be able to check them off my cooking bucket list!
DeleteThis one definitely looks like a keeper for making food gifts at Christmas. Everyone I know adores caramels.
ReplyDeleteThey'd be awesome holiday gifts! I'll have to mix some onto my cookie trays.
DeleteThe ultimate compliment from your troop!
ReplyDeleteFor sure! :) I love when they request something and I knock it out of the park like that.
DeleteI made caramel once, by luck. I have no patience to wait for it to boil long enough. LOL
ReplyDeleteI multi-tasked until I had to stir, but kept in close proximity :)
Delete